The McGennis Family
Process published — nice work
What you do next determines whether this becomes real training. Pick one:
How to Make Caleb's Favorite Breakfast Egg, Cheese & Bacon Sandwich
A family how-to for the sandwich Caleb makes most mornings. Each step lists the options I've actually tried, with notes on what works best and warnings on the ones to skip. Pick the path that fits what's in your kitchen — there's no wrong answer (except Teflon).
Your Progress
0 of 12 steps completedStep-by-Step Instructions
1 Step 1: Get out your base or structure
Step 1: Get out your base or structure
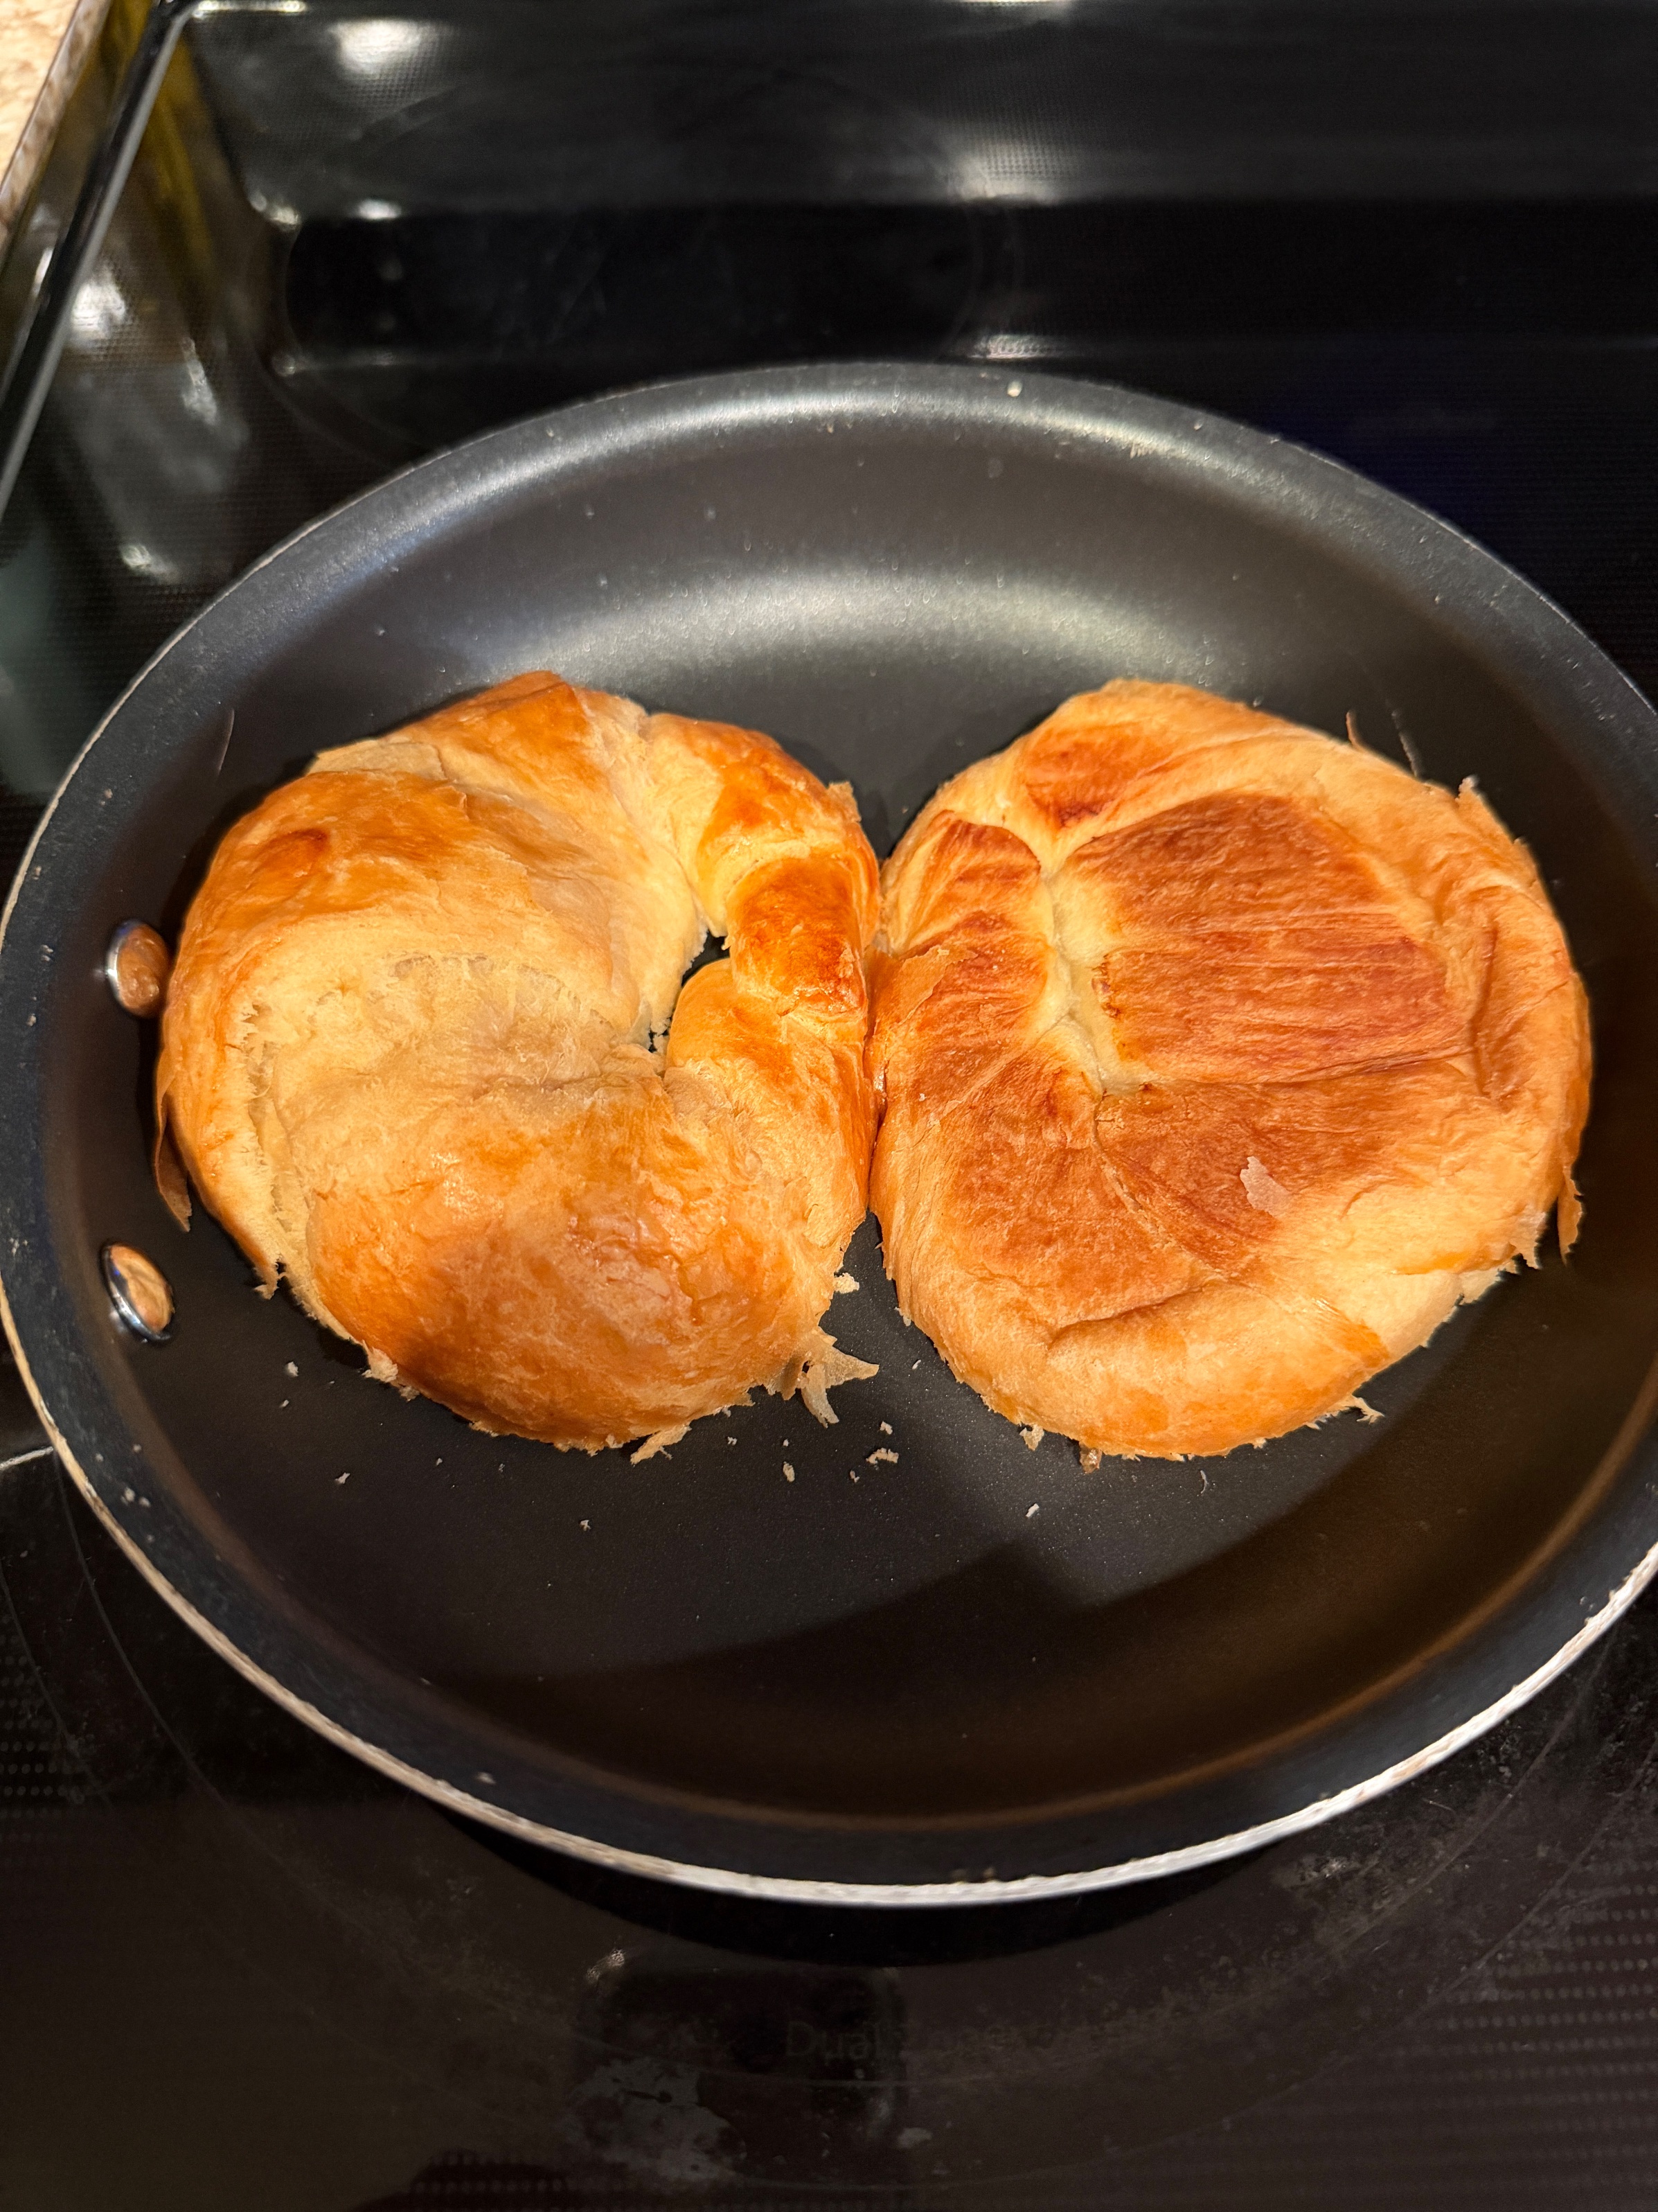
The "base" is whatever holds the sandwich together. Crescents are the best I have found so far; a real sourdough or a dense whole-grain loaf are both strong runners-up.
Boudin Sourdough
The original San Francisco sourdough (1849). Tangy, chewy crumb with a sturdy crust — holds up to a hot egg without going soggy.
Dave's Killer Bread Good Seed (whole grain)
Dense, seed-packed whole-grain loaf. Sturdier base than soft sandwich bread and bumps the fiber and protein on the plate.

Member's Mark All Butter Sandwich Croissants, 12 ct.
Sam's Club store brand. Pre-pinched all-butter sandwich croissants — flakier and richer than refrigerated crescents, baked from a layered yeast dough. ~.96 for 12.
2 Step 2: Cook your base
Step 2: Cook your base
How you cook the base so that the base shapes the texture of the whole sandwich.
Pan-toast in butter
Butter the outside of both sides and pan-cook on medium-low until each side is golden — usually 90 seconds per side. The butter caramelizes against the bread for a flavor you can't get from a toaster. Use the Lodge cast iron from step 3 — preheat dry, then add the butter so it doesn't burn before the bread goes in.
Slot toaster
Fastest, cleanest path for thin bases. Plain bread or split crescents go in on medium-dark. Aim for golden, pull before brown — you want crisp edges, not hardtack.
Broiler
Best for thicker bases or anything that won't fit in slot-toaster slots — half-loaves, oversized croissants, an everything bagel cut sideways. Second rack from the top, 60-90 seconds. Watch through the oven door — broilers go from gold to burnt in 15 seconds.
3 Step 3: Get out your pan for cooking the eggs
Step 3: Get out your pan for cooking the eggs
Pan choice matters more than people think — it affects heat, flavor, and the safety of what ends up in the egg. For 1–3 eggs, an 8" pan is the right size: a 10"+ pan has cold edges and lets the whites spread thin.
Stainless steel — All-Clad D3 8"
Tri-ply (steel-aluminum-steel) gives even heat with no hot spots — the standard pick for eggs in stainless. 8" is sized exactly for 1–3 eggs. Preheat on medium, then add fat before the egg.
Cast iron — Lodge 8" (L5SK3)
Best heat retention and gives eggs a slightly nutty edge. The 8" Lodge holds 1–3 eggs perfectly without crowding; pre-seasoned, lifetime tool, ~$20.
Teflon / non-stick
Warning: Non-stick (PTFE/PFOA) coatings can release toxic fumes when overheated and scratch into food. Avoid for high-heat cooking — use stainless or cast iron instead.
Easy cleanup, but the coating breaks down with heat over time.
4 Step 4: Add your grease
Step 4: Add your grease
A thin layer of fat is what gets you crisp edges without sticking. The choice matters for flavor — and for the seed oils you do or do not want in your breakfast.
Extra Virgin Olive Oil
Clean flavor, real food. Use a single-origin EVOO for the best taste.
Butter (grass-fed)
Best flavor of the three. Kerrygold or any grass-fed butter beats commodity butter on every metric.
Industrial seed oils (canola, vegetable, soybean)
Warning: Industrial seed oils are highly refined and prone to oxidation at cooking heat. Stick with EVOO or butter for breakfast — your body will thank you.
Cheap and neutral-tasting, but heavily processed and oxidized.
5 Step 5: Crack your egg and add it to the pan
Step 5: Crack your egg and add it to the pan
How fresh and how well-raised the egg is matters more than people think — better feed and welfare means a richer yolk, more nutrition, and (truth be told) better taste. Crack carefully into the pan after the fat is hot but not smoking.
Pasture-raised (Vital Farms)
Hens with 108 sq ft of pasture each — the highest welfare tier available at scale. Dark orange yolks and the richest flavor. Roughly $0.75 per egg.
Organic (Pete and Gerry's)
USDA-Organic certified — no GMOs, no pesticides in feed, no antibiotics. Free-range with outdoor access. Roughly $0.54 per egg.
Farm-fresh (local farmer)
If you can buy from a local farmer or farm stand, do — you'll get eggs laid in the last week, often from pastured hens, often cheaper than the organic supermarket box. Price varies by region.
Cage-free (commodity)
Hens are out of cages but typically packed into a barn. Slightly better than conventional, not dramatically. Roughly $0.37 per egg.
Conventional
Caged, commodity feed, the cheapest option on the shelf. Roughly $0.25 per egg.
6 Step 6: Season your eggs
Step 6: Season your eggs
Season before you flip so the seasoning binds into the egg. Turmeric + black pepper together is the move: piperine in pepper boosts curcumin absorption from turmeric by ~2000% (real, well-studied combination benefit), so you get the anti-inflammatory effect of turmeric instead of just the color.
Turmeric
A small pinch on the yolk side. Earthy flavor, gives the egg a sunny color, and is anti-inflammatory when paired with black pepper.
Black pepper
Fresh-ground if you can. Pair with turmeric for the absorption bump (see step description).
Black Celtic sea salt
Trace-mineral rich, less processed than table salt. Light hand — it is more concentrated than it looks.
7 Step 7: Flip your eggs
Step 7: Flip your eggs
Once the bottom sets and the white is mostly opaque, flip. About 30–60 seconds for over-medium.
Flip with a spatula
A thin fish-turner-style spatula is the easiest. Slide under, lift, flip.
Flip with the pan
Pro move: a quick forward-up-back motion launches and catches the egg. Practice over a clean counter first — failures land somewhere.
8 Step 8: Get out the cheese and apply it on top of the egg, then lid the pan if you have one
Step 8: Get out the cheese and apply it on top of the egg, then lid the pan if you have one
Sliced is fastest — get the cheese out before the egg is fully flipped so the heat is still doing the melting work. Lay it on the flipped egg, and if your pan has a lid, drop it on for 30–60 seconds. The trapped heat melts the cheese without overcooking the egg.
Colby Jack
Mild, melts evenly, and the marbling looks great on the sandwich. Tillamook is reliable.
Sharp cheddar
More flavor than Colby Jack, melts a little slower. Aged 12+ months hits the spot.
9 Step 9: Put the egg and cheese on the sandwich base
Step 9: Put the egg and cheese on the sandwich base
Condition: Once the cheese is fully melted
Slide it on. If the bacon is going on, this is when it lands too.
10 Step 10: Add additional toppings
Step 10: Add additional toppings
Optional — but a slice of avocado, tomato, or a few strips of bacon turns this from a breakfast sandwich into a meal.
Tomato
Thin slice of a real summer tomato. Salt it lightly before adding.
Avocado
A few slices of ripe Hass adds fat, fiber, and creaminess.
Bacon
A few crisp strips bring salt, fat, and crunch. Cook ahead in the oven or air fryer while the egg is in the pan so it lands hot. Look for uncured, no-sugar bacon from a brand that pasture-raises — it tastes better and avoids the nitrate/sugar load.
11 Step 11: Serve
Step 11: Serve
Hot, on a real plate. Eat with two hands.